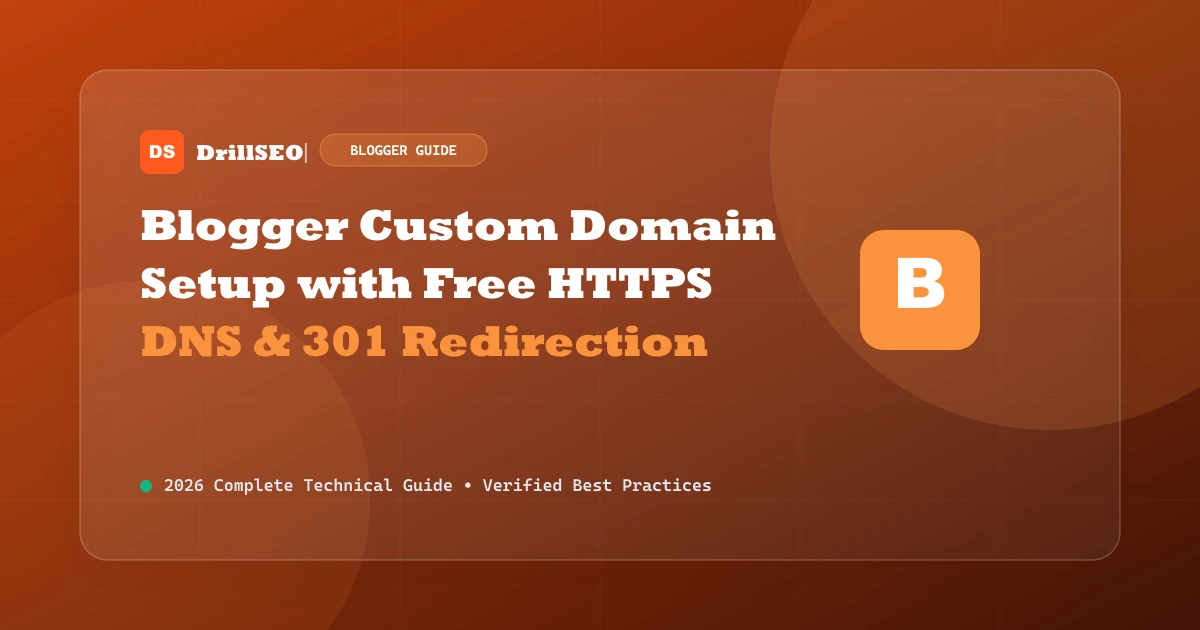
Why Connect a Custom Domain to Blogger?
Moving from a .blogspot.com subdomain to a branded custom domain (e.g., drillseo.com) builds brand trust, enhances search engine authority, and is essential for getting approved for Google AdSense and premium advertising networks.
Step 1: Obtain Blogger CNAME Records
- Log in to your Blogger Dashboard and navigate to Settings > Publishing > Custom domain.
- Enter your domain name (e.g.,
www.yourdomain.com) and click Save. - Blogger will display two unique CNAME records required for DNS verification.
Step 2: Configure DNS Records in Your Domain Registrar
Add the following DNS records in your domain registrar (GoDaddy, Namecheap, Cloudflare):
CNAME Records:
- Host:
www→ Points to:ghs.google.com - Host:
[unique-code]→ Points to:gv-[unique-code].dv.googlehosted.com
Google A-Records for Naked Domain Redirection:
| Type | Host | Points to IP |
|---|---|---|
| A | @ | 216.239.32.21 |
| A | @ | 216.239.34.21 |
| A | @ | 216.239.36.21 |
| A | @ | 216.239.38.21 |
Step 3: Enable HTTPS and Naked Domain Redirection
In Blogger Settings, enable "Redirect domain" (so yourdomain.com forwards to www.yourdomain.com) and toggle "HTTPS Availability" and "HTTPS Redirect" to ON.