PHP is the backbone of WordPress websites, and keeping your PHP version updated is crucial for security, performance, and compatibility with the latest WordPress features and plugins. In this comprehensive guide, we'll walk you through the process of updating your PHP version in cPanel, explain why it's important, and address common issues you might encounter.
Why Update Your PHP Version?
Before diving into the how-to, let's understand why updating your PHP version is essential:
- Security: Older PHP versions eventually reach end-of-life status, meaning they no longer receive security updates. Running outdated PHP versions exposes your website to security vulnerabilities.
- Performance: Each new PHP version brings performance improvements. For example, PHP 8.0 is significantly faster than PHP 7.4, which was already much faster than PHP 7.0.
- Compatibility: WordPress and many plugins regularly update their minimum PHP requirements. Using an outdated PHP version may prevent you from using the latest WordPress features or plugin updates.
- New Features: Newer PHP versions introduce helpful features and functions that developers can leverage to create better, more efficient websites.
Checking Your Current PHP Version
Before updating, it's important to know which PHP version you're currently running. Here's how to check:
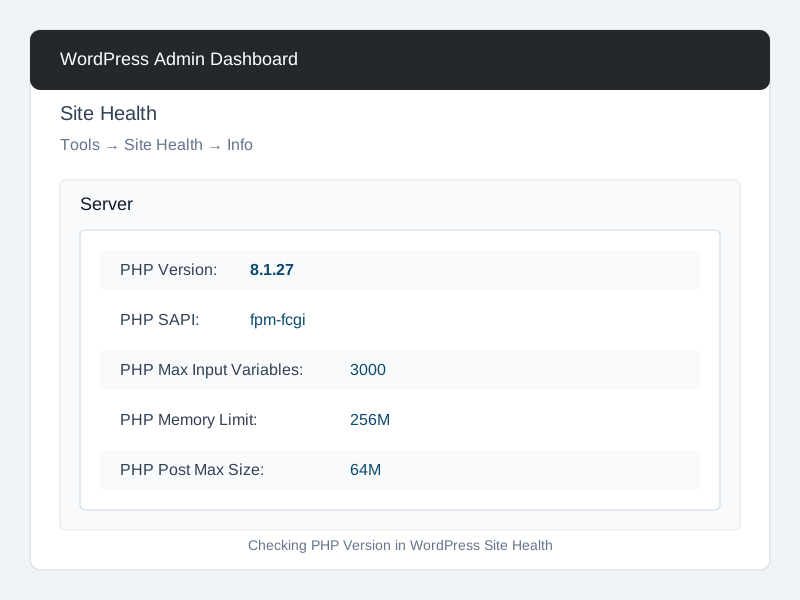
- Log in to your WordPress admin dashboard
- Go to Tools → Site Health
- Click on the "Info" tab
- Look for the "Server" section to find your current PHP version
Alternatively, you can check your PHP version directly in cPanel:
- Log in to your cPanel account
- Scroll down to the "Software" section
- Click on "PHP Version" or "Select PHP Version"
- Your current PHP version will be displayed or selected
Preparing to Update PHP Version
Before updating your PHP version, take these important precautions:
1. Backup Your Website
Always create a full backup of your website before making any significant changes. You can use a plugin like UpdraftPlus, BackupBuddy, or your hosting provider's backup tool.
2. Check Compatibility
Ensure your WordPress version, theme, and plugins are compatible with the PHP version you plan to use:
- WordPress 6.0+ works best with PHP 7.4 or higher
- WordPress 6.4+ recommends PHP 8.0 or higher
- Use a plugin like PHP Compatibility Checker to scan your site for potential issues
3. Enable Maintenance Mode
Put your site in maintenance mode during the update to prevent visitors from experiencing errors. You can use plugins like SeedProd, WP Maintenance Mode, or Coming Soon Page.
How to Update PHP Version in cPanel
Follow these steps to update your PHP version in cPanel:
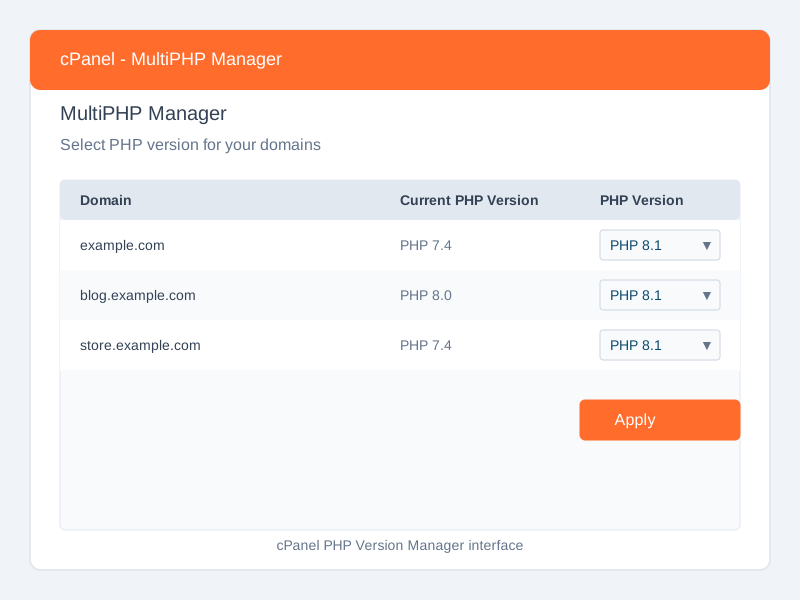
Method 1: Using MultiPHP Manager
- Log in to your cPanel account
- In the "Software" section, click on "MultiPHP Manager"
- Find your domain in the list
- Select the PHP version you want to use from the dropdown menu
- Click "Apply" to save your changes
Method 2: Using Select PHP Version
- Log in to your cPanel account
- In the "Software" section, click on "Select PHP Version"
- Choose your domain from the dropdown menu (if you have multiple domains)
- Select the PHP version you want to use
- Click "Set as current" to apply the changes
Pro Tip
Most hosting providers recommend using PHP 8.0 or higher for WordPress sites in 2026. PHP 8.1 and 8.2 offer the best balance of performance and compatibility with modern WordPress plugins and themes.
Method 3: Using .htaccess File (Advanced)
If your host allows it, you can specify the PHP version in your .htaccess file:
AddHandler application/x-httpd-php80 .phpReplace "php80" with your desired PHP version (php74, php81, etc.).
Configuring PHP Settings
After updating your PHP version, you may need to adjust some PHP settings:
Using PHP Selector in cPanel
- In cPanel, go to "Select PHP Version"
- Click on "Switch to PHP Options" or "Options" tab
- Adjust settings like memory_limit, max_execution_time, upload_max_filesize, etc.
- Click "Apply" to save your changes
Using php.ini File
If you have access to create or edit php.ini files, you can customize PHP settings there. Create a php.ini file in your website's root directory with settings like:
memory_limit = 256M
max_execution_time = 300
upload_max_filesize = 64M
post_max_size = 64M
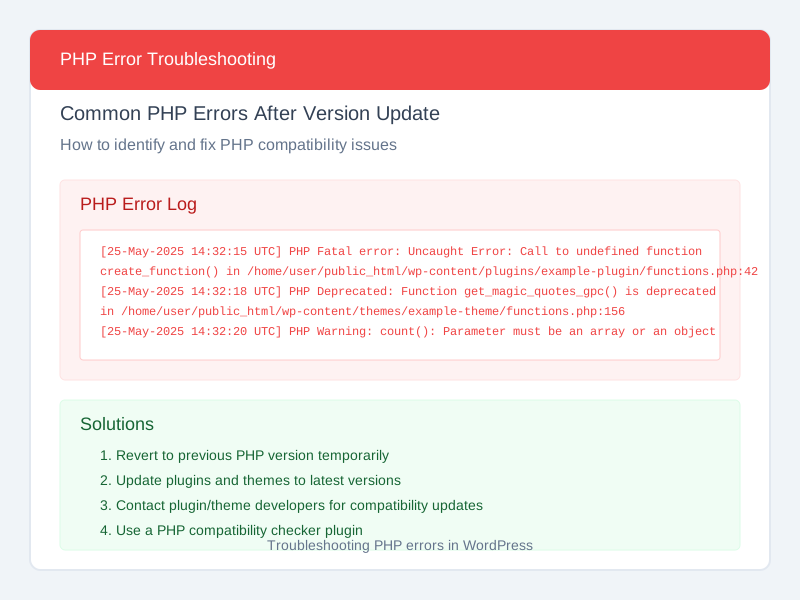
Troubleshooting Common Issues
If you encounter problems after updating your PHP version, try these solutions: